By Kingdom Based Plumbing, proudly serving St. John’s County, Jacksonville, St. Augustine, and surrounding areas.
Broken or busted pipes can happen at the most inconvenient times—often late at night, on weekends, or during holiday gatherings when you have a house full of loved ones. Nothing quite compares to the stress of running water gushing onto your floors or seeping into your walls. At Kingdom Based Plumbing, we’ve seen our fair share of plumbing mishaps in Northeast Florida, from corroded lines in historic St. Augustine homes to burst pipes in newer developments throughout St. John’s County and Jacksonville. We understand the anxiety, confusion, and urgency a plumbing emergency brings.
The reality is that plumbing issues can arise for a variety of reasons—extreme weather, old pipe installations, sudden pressure changes, or even a playful pet knocking something loose. Whatever the cause, your first reaction might be to panic. But rest assured, there are tangible steps you can take to mitigate damage while you wait for professional help. Whether you’re dealing with a trickling leak or a full-on fountain in your living room, these 10 emergency plumbing tips can serve as your go-to guide in a sticky situation.
In this article, we’ll share the insights we’ve gathered over many years of servicing Northeast Florida. We’ll walk you through the best ways to handle broken or busted pipes, providing you with a mix of “calgary plumbing emergency quick tips,” “plumbing emergency tips,” and real-world knowledge specific to our region. By following this advice, you’ll not only contain the damage but also buy yourself enough time to schedule a professional visit if the situation calls for it.
So, let’s dive in. Below are ten practical, step-by-step tips that you can quickly reference when a pipe decides to break at the most inconvenient time. We’ve also included some subtle humor to lighten the mood—after all, we know this is stressful, and a bit of a smile goes a long way. Let’s get started on our journey to becoming better-prepared homeowners and business owners, equipped with tips for emergency plumbing solutions.
1. Turn Off the Main Water Supply
When you discover a broken or busted pipe in your home, the first and most crucial step to take is to shut off the main water supply. Although it sounds straightforward, many homeowners find themselves scrambling to locate the right valve when disaster strikes, often resulting in unnecessary water damage and added stress. By proactively knowing where your main shutoff valve is and how to operate it, you can prevent gallons of water from flooding your living spaces, protect your electrical systems, and save yourself from the chaos of hasty cleanup efforts.
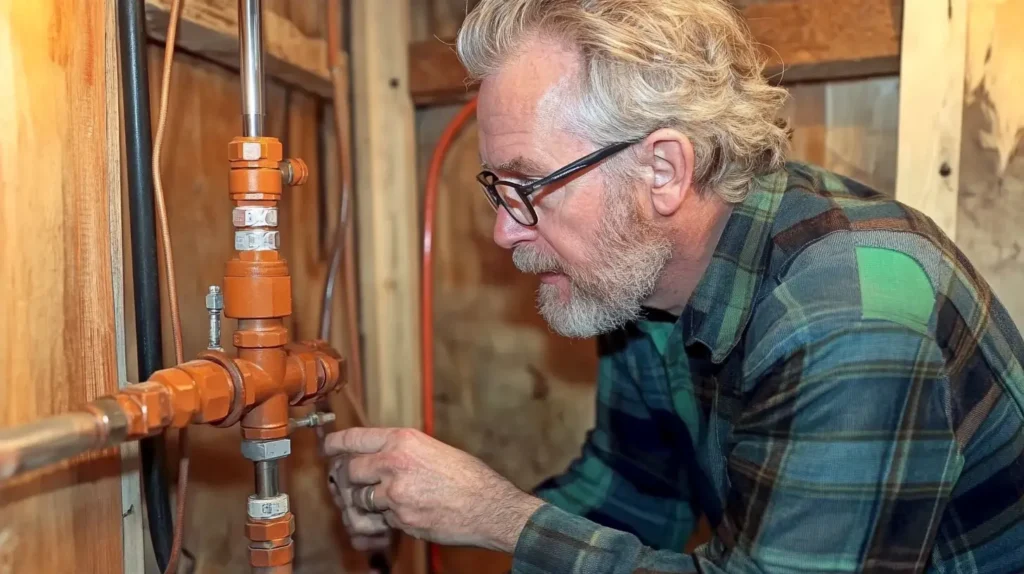
The core problem here is that when a pipe breaks—be it in your kitchen, bathroom, or even an outdoor spigot—you’re dealing with a relentless flow of water that can quickly soak flooring, ruin furniture, and foster mold growth behind walls. If you don’t know how or where to turn off the water, you risk allowing the flood to continue until help arrives, amplifying the damage and inflating repair costs.
Why Immediately Shutting Off the Water Matters
- Damage Control: Stopping the water at its source greatly reduces the extent of the flooding. Even a few minutes of delay can mean a world of difference in terms of soaked drywall, compromised wooden cabinets, or saturated carpets.
- Safety First: Water is an excellent conductor of electricity, and the combination of a burst pipe with energized outlets or electrical appliances can lead to dangerous situations. Cutting off the water supply mitigates the risk of electrical shock or short circuits.
- Lower Repair Costs: By preventing prolonged water flow, you’re also preventing further complications such as warped flooring, peeling paint, or even structural damage in severe cases.
Locating the Main Shutoff Valve
In Florida homes, the main shutoff valve is often situated near the perimeter of the building, in a garage, or in a utility room. Some properties have an external valve near the water meter, which is typically placed close to the street. If you’re unsure of its location, take a moment now—before an emergency happens—to do a walkthrough. Check your garage walls, look near water heaters, or inspect the outside area where pipes connect to your home.
Real-World Example
Picture hosting a large Sunday barbecue. You’re enjoying the day with family and friends scattered between the backyard and the kitchen. Then you hear frantic shouting: water is pouring from under the sink at full force. In the confusion, nobody can recall where the main shutoff valve is. By the time you manage to locate it—hidden behind some boxes in the garage—water has already seeped into your baseboards and ruined the kitchen rugs. Had you or another family member known exactly where the valve was, you could have turned it off within seconds, limiting the damage drastically.
Best Practices and Actionable Insight
- Do a Pre-Emergency Walkthrough: Familiarize yourself with the valve’s location. Open and close it a couple of times so you’re comfortable operating it.
- Label the Valve: Attach a bright-colored tag or label reading “Main Water Shutoff” to avoid confusion in high-stress scenarios.
- Educate Everyone in the Household: Teens, roommates, or visiting relatives should all know where this valve is and how to use it. Emergencies can strike when you’re not home.
- Regularly Check for Corrosion: If your main shutoff valve is stiff or shows signs of rust, have it inspected or replaced by a professional. A faulty shutoff valve won’t do much good when you truly need it.
By prioritizing this single step—cutting off the water supply as soon as you detect a burst or leaking pipe—you can maintain control over an otherwise chaotic situation. It may seem like a minor detail, but knowing how to turn off your water instantly transforms a potential household catastrophe into a manageable fix.ur mind clear and focused on the exciting transformation that a new, modern faucet can bring.
2. Open Faucets to Drain Remaining Water
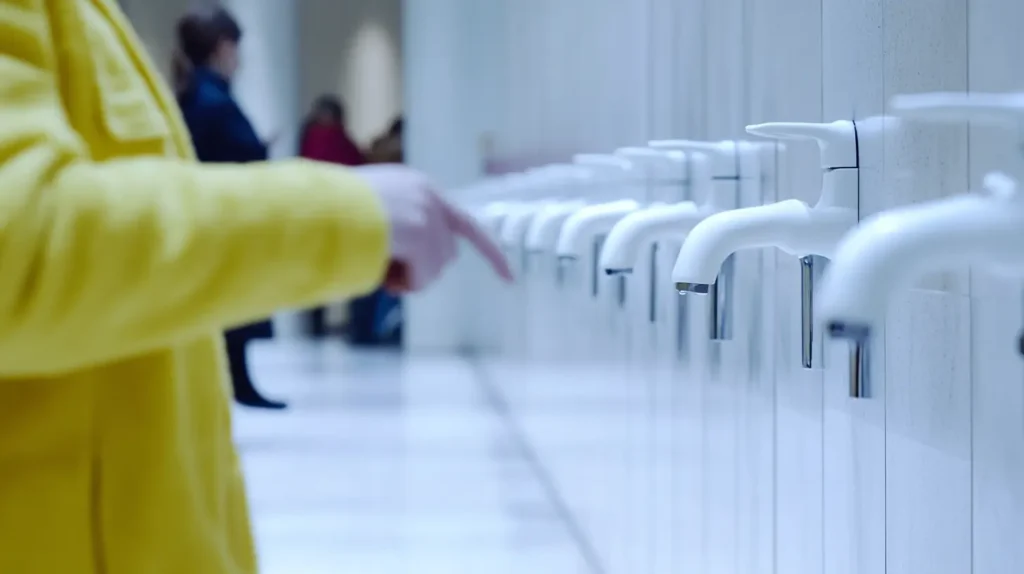
Turning off the main water supply is a critical first step in any emergency plumbing situation, but even with the water shut off, you might notice a persistent trickle or drip from the damaged pipe. This happens because your plumbing system still holds water in the pipes, fixtures, and sometimes even in the water heater tank. If left unaddressed, that residual water can continue to leak or even build up pressure. To eliminate these risks, it’s essential to open all faucets—both hot and cold—throughout your home, as well as flush every toilet and drain any outdoor spigots. Taking this extra precaution prevents lingering water from exacerbating the damage and helps you move on to further repair steps without worrying about additional leaks.
The Core Problem
A major challenge after discovering a busted pipe is the misconception that simply shutting off the main supply immediately stops all water flow. While the main supply cut-off halts new water from entering the system, the existing water in your pipes still has the potential to leak through the break. This can lead to continued dripping behind walls, ceilings, or under sinks. If your home has multiple stories or a basement, gravity will push remaining water downward, sometimes resulting in hidden leaks in unexpected places.
Why Fully Draining the System Matters
- Pressure Release: When you open faucets, you relieve any leftover pressure that could cause water to burst from weak spots or minor cracks in other parts of your system. Even a slight buildup can create new leaks or expand existing ones.
- Minimized Water Damage: The longer water sits in damaged pipes, the higher the likelihood it will seep into drywall, flooring, or electrical components. Draining your lines as thoroughly as possible is a proactive measure to reduce costly repairs and curb potential mold growth.
- Streamlined Repairs: Drained pipes are safer and cleaner to work with. Whether you decide to temporarily patch the leak or replace a section of pipe entirely, having minimal water in the system prevents messy spills and allows you to clearly assess the extent of the damage.
Best Practices and Step-by-Step Solutions
- Start Closest to the Break: Begin by opening the faucets that are nearest to the busted pipe. This directs any trapped water away from the damaged area first, minimizing additional seepage.
- Work Your Way Outward: After opening the faucets closest to the break, proceed to sinks, bathtubs, and showers in other rooms. Don’t forget to turn on both hot and cold taps; each line holds water that needs to be released.
- Flush Toilets and Outdoor Spigots: Toilets can hold a surprising amount of water in their tanks, and outdoor spigots—particularly in older homes around places like St. Augustine’s historic district—may not be as frequently used but can still contain pressurized water. Opening all these points ensures a comprehensive drain.
- Check for Hidden Fixtures: In certain historical or custom-built homes, you might find unique fixtures or additional outdoor taps. Make sure to include these in your drainage plan to avoid leaving any part of your system under residual pressure.
- Monitor Water Heater Tanks: Although most water heater tanks have separate shutoff valves, be mindful that if you plan on doing more extensive repairs, you may need to drain some or all of the water from the heater as well.
Local Insight
Homes in Florida, especially older ones in regions like St. Augustine, may have unique plumbing setups or partially hidden outdoor spigots. A quick survey of your property can help you identify all the faucets that need to be opened. This attention to detail goes a long way in ensuring you truly relieve all water pressure and avoid further leakage.
Actionable Tip
Create a simple checklist:
- Identify the faucet or fixture closest to the broken pipe.
- Open it fully and wait until water flow diminishes or stops.
- Move to the next faucet in line, opening both hot and cold taps.
- Continue this pattern around your home, ending with flushing each toilet.
- Confirm that all water flow has ceased, then proceed with repairs or call a professional.
By diligently draining the remaining water, you not only protect your home from avoidable water damage but also set the stage for an easier repair process. Whether you’re handling a minor leak on your own or awaiting the arrival of a trusted plumbing professional, ensuring every faucet is open and drained is a vital step in safeguarding your property against further harm.
3. Identify the Source of the Break
Locating the exact spot where your pipe has failed is a key step in handling a plumbing emergency. When water is seeping through walls or pooling under floors, it’s easy to assume the leak lies directly where the water is visible. However, pipes can run through ceilings, behind cabinets, or even under your home’s foundation, making the true source of a break more elusive. By carefully inspecting the area and using multiple senses—sight, sound, and even touch—you can zero in on the problem faster and provide a plumber with the crucial details they need to carry out effective repairs.
Understanding the Problem
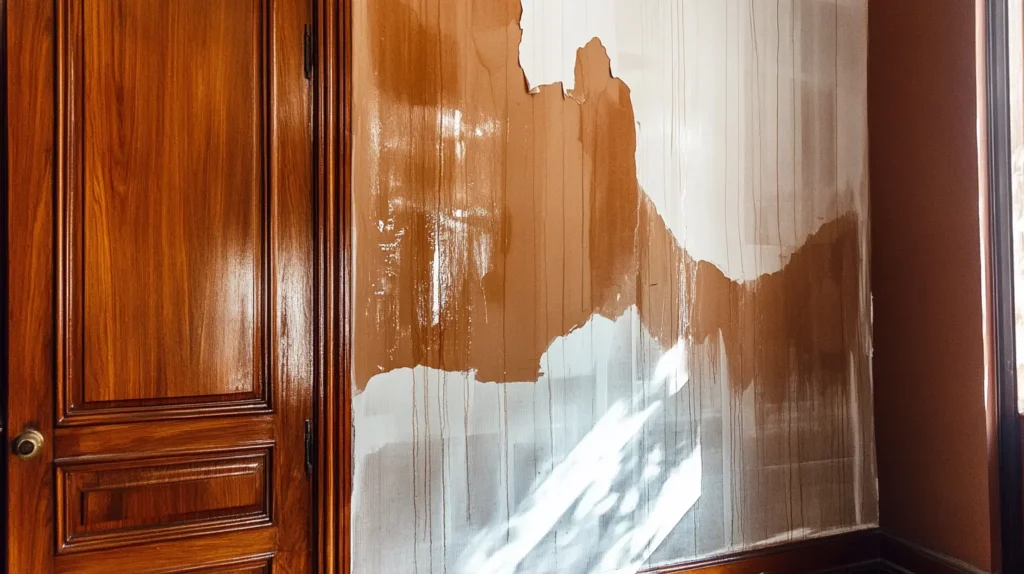
A busted pipe isn’t always obvious. While some breaks result in a sudden burst of water, many leaks begin as tiny fissures or pinholes that slowly worsen over time. You might notice a damp spot on your drywall, hear a faint hissing sound in a quiet room, or detect an unexplained spike in your water bill. Each of these signs points to a hidden or developing issue in your plumbing system. If you ignore these subtle indicators, the damage can escalate, turning what might have been a simple repair into a more expensive, all-consuming project.
Why Identifying the Break Matters
- Accurate Communication: Plumbers rely on precise information to prepare the right tools and parts for a job. The more details you can provide—like the suspected location, the type of material your pipes are made of, or whether you’ve observed any rust or corrosion—the faster they can implement a lasting fix. This can translate into a quicker repair time and potentially lower costs.
- Effective Damage Assessment: Not all pipe breaks are alike. A small pinhole may only require a quick seal until the plumber arrives, whereas a major fracture could force you to shut down large sections of your home’s water supply and schedule immediate, more intensive repairs. Recognizing the severity early on allows you to take the appropriate emergency measures.
- Preventing Secondary Issues: Undetected leaks can lead to mold growth, wood rot, or compromised structural integrity. By pinpointing the source promptly, you reduce the chance of additional damage that can be both hazardous to your health and costly to fix.
Step-by-Step Approach
- Observe Visual Clues: Look for discolored drywall, paint bubbles, or warped flooring. These are classic red flags that water has been collecting in an area where it shouldn’t.
- Listen for Hissing or Dripping: Turn off any electronics or appliances to minimize background noise, then move through each room methodically. A leak often generates a faint hiss, drip, or trickle sound.
- Use a Flashlight: Peer into crawl spaces, behind large appliances, and under sinks. Hidden leaks can go unnoticed if you rely solely on overhead lighting or daylight.
- Check for Water Stains on Ceilings and Walls: Moisture might travel through insulation or along pipes before settling in a particular spot. Trace these stains to their highest point to find the likely source.
- Feel for Temperature Changes: In some cases, a hot-water line that is leaking can create a warm spot on your wall or floor. This can be a telltale sign of a break.
- Document Any Findings: Take notes or snap photos on your phone. This will help you remember details and share them with your plumber or restoration specialist.
Real-World Example
A Jacksonville business owner once noticed a slow-growing stain on the ceiling of his office space. Initially, he assumed it was a minor roof leak. However, additional investigation revealed that a small copper pipe had corroded within the overhead plumbing system. Had he checked for other symptoms—like listening for a hiss or looking for pipe condensation—he might have identified the busted pipe sooner, avoiding further water damage and a more involved repair process.
Actionable Insight
Always trust your instincts. If you notice an odd discoloration or a musty smell, it’s worth investigating. Use a flashlight to peer into dark corners, behind appliances, and near water-using fixtures. By combining observation with active listening and a bit of detective work, you can provide a plumber with everything they need to address the issue quickly. Even if you plan on calling a professional right away, these initial steps will help you better understand the gravity of the situation and clarify what might be needed for a successful repair.
4. Temporary Fix: Use Pipe Tape, Epoxy, or Clamps
Encountering a broken or busted pipe can induce a surge of panic, especially if you can’t immediately schedule a professional plumber. While a permanent repair or replacement is always the ideal solution, there are temporary fixes you can apply to prevent further damage and stabilize the situation in the interim. Whether it’s the middle of a holiday weekend or you simply need more time to research reputable plumbers in your area, having a few basic supplies—pipe repair tape, epoxy, or clamps—on hand can buy you the necessary breathing room until expert help arrives.
Understanding the Temporary Fixes
- Pipe Repair Tape:
- How It Works: Pipe repair tape is engineered to bond to itself while sealing leaks effectively.
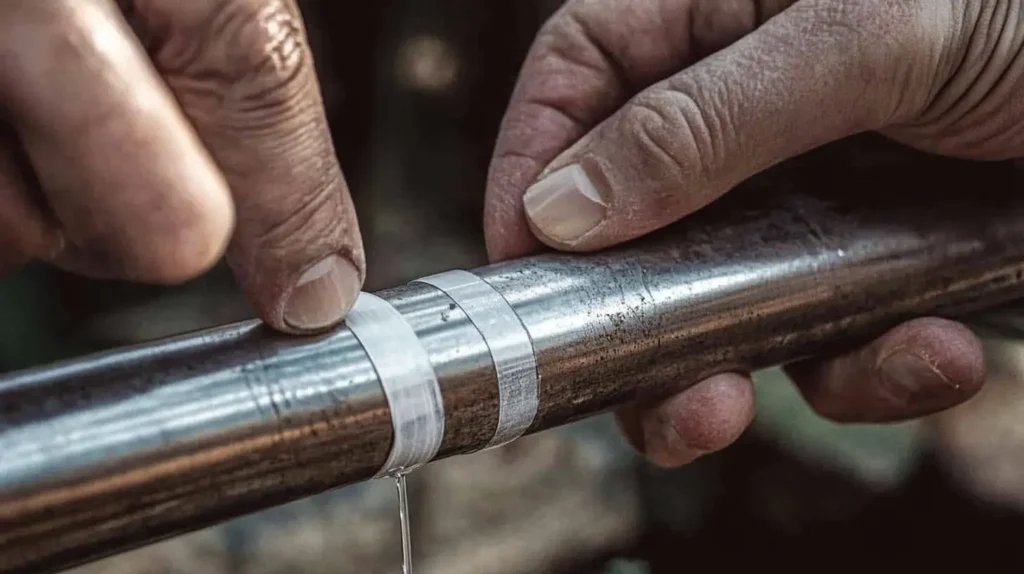
- Application: Start by thoroughly drying the area around the crack or hole. Next, wrap the tape around the leak, ensuring you overlap each wrap by at least half of the tape’s width. Extend the tape a few inches beyond the damaged section on both sides. This gives a wider seal and lowers the likelihood of water seeping through the edges.
- Effectiveness: Pipe repair tape is a quick fix that can handle moderate water pressure for a short time. Keep in mind that it’s not a long-term solution, so be prepared to follow up with permanent repairs.
- Epoxy Compounds:
- How It Works: Epoxy comes in putty or resin form and cures into a tough, watertight seal once it’s mixed and set.
- Application: Begin by turning off the water supply and drying the area. Knead or mix the epoxy according to the manufacturer’s instructions, then press it directly onto the pipe’s damaged section. Make sure to cover enough surface area around the leak. Smooth out the edges so the epoxy can adhere firmly.
- Effectiveness: Epoxy is highly effective for pinhole leaks or small cracks. It can withstand some pressure but generally works best as a stopgap until a plumber can either re-pipe or professionally patch the area.
- Pipe Clamps:
- How They Work: Pipe clamps typically consist of a metal band and a rubber gasket. When placed over a leak, the clamp compresses the gasket against the pipe, forming a tight seal.
- Application: First, choose a clamp of appropriate size to match the pipe’s diameter. Place the rubber gasket over the leak, then align the clamp around both the gasket and pipe. Tighten it until you feel a firm grip, but avoid over-tightening to the point of damaging the pipe.
- Effectiveness: Pipe clamps are robust, particularly useful for larger splits or cracks. They do a decent job of stopping or slowing leaks long enough for you to plan a more comprehensive repair.
Why This Matters
- Short-Term Relief: Sometimes, you can’t get a plumber out to your home immediately—perhaps due to high demand during holidays or weekends, or because you’re dealing with other urgent matters. A quick patch can provide you with peace of mind, preventing additional water from flooding your home.
- Minimizing Damage: Even a minor leak left unattended can escalate into a serious problem. Water seeping into floors, walls, or electrical fixtures can trigger mold growth, rot, or short circuits. Temporary fixes help you limit the scope of damage until a professional steps in.
Practical Tips and Best Practices
- Clean and Dry the Area: Residual moisture or grease can weaken any sealant, whether it’s tape, epoxy, or a clamp. Use a cloth to dry the pipe thoroughly before applying your chosen patch.
- Assess the Severity: If you notice a large crack or severe corrosion, a temporary patch might only last a short while. In such cases, expedite your efforts to get professional help, as you may need a partial or full pipe replacement.
- Keep an Emergency Kit Handy: Stock a small container or toolbox with pipe repair tape, epoxy compounds, a couple of clamps in different sizes, and basic tools like pliers and wrenches. This kit will quickly become invaluable during an unexpected plumbing emergency.
- Stay Mindful of Water Pressure: Even the best temporary fix isn’t meant for long-term use under high pressure. Lower your home’s water pressure if possible by partially closing the main shutoff valve or adjusting a pressure regulator, if you have one installed. This strategy extends the life of your patch.
- Schedule a Permanent Repair: Don’t fall into the trap of forgetting about that “Band-Aid” solution once it’s in place. Temporary fixes are called “temporary” for a reason: the leak can resurface at the worst possible moment. Reach out to a trusted plumber, explain what measures you’ve taken, and get on their schedule for a permanent fix.
Subtle Humor
Think of these quick patches like slapping a bandage on a paper cut. They’re not a cure for a deep wound, but they’ll hold everything together until you reach the “doctor”—in this case, your local plumbing pro.
Actionable Insight
Always be prepared: A single roll of pipe repair tape, a small tube of epoxy, and an appropriately sized clamp can make a world of difference when you’re confronted with an unexpected leak. Stash these items in a marked toolbox or cabinet so you can easily find them in an emergency. While these solutions won’t replace the expertise of a professional plumber, they can help you contain the problem before it spirals out of control.
5. Consider Freezing Pipes—Then Thaw Safely
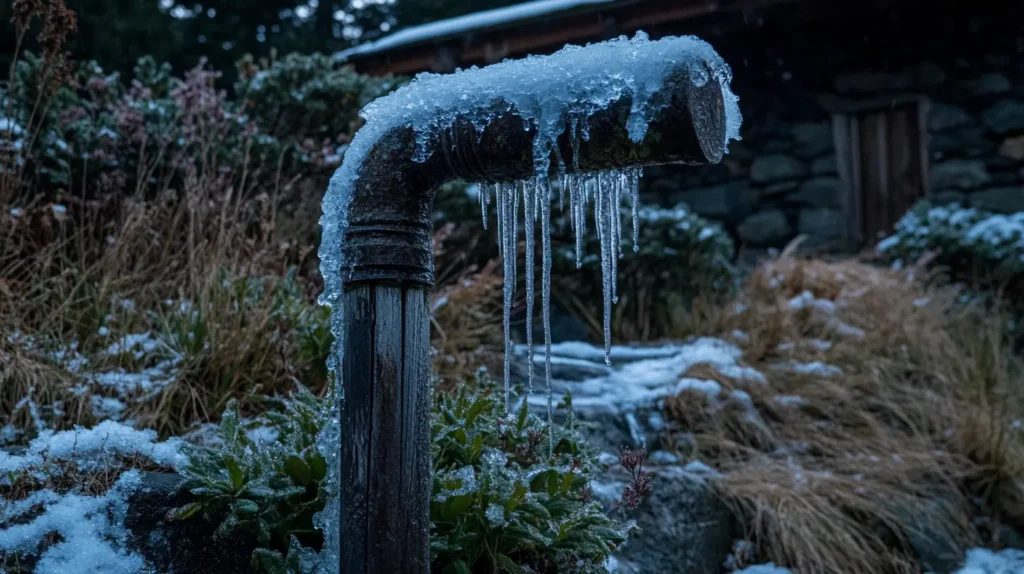
Freezing temperatures may not be an everyday concern in Northeast Florida, but they do occur often enough to create unexpected plumbing emergencies. When a cold snap hits, the water in your pipes can freeze and expand, putting immense pressure on the pipe walls. If the ice buildup becomes extensive enough, it can cause the pipe to burst or develop cracks—leading to water damage once the ice thaws. Recognizing the signs of a frozen pipe and knowing how to thaw it properly can spare you from costly repairs and headaches.
Identifying Frozen Pipes
The first indication of a frozen pipe often comes in the form of reduced water flow. You might notice your faucets only producing a trickle of water, or perhaps no water at all. Another sign to watch for is a pipe that feels extremely cold to the touch or has visible ice crystals along its exterior. In some cases, you may also hear faint cracking sounds as the ice tries to expand within the confined space of the pipe.
If you suspect a pipe is frozen, inspect it carefully. Look for frost or small icicles forming around the pipe’s joints or exposed sections. Pay special attention to uninsulated areas, such as garages, crawl spaces, attics, or outdoor spigots, which are more vulnerable to extreme temperatures.
Steps to Thaw Pipes Safely
- Turn Off the Water Supply:
Before you apply any heat source, ensure the water leading to that pipe is shut off. We’ve stressed this point in previous sections, but it becomes doubly important when you’re dealing with frozen pipes. By cutting off the water, you reduce the risk of excessive flooding if the pipe does crack or burst once the ice melts. - Use Gentle Heat Methods:
The most popular and safest choices for thawing are hairdryers, heat guns set on a low or medium setting, or even space heaters placed a moderate distance away from the pipe. By applying gentle, consistent heat, you allow the ice to melt slowly without placing additional stress on the pipe walls. Avoid open flames—such as blowtorches—or overly high temperatures, as these can damage the pipe or create a fire hazard. - Proceed Slowly to Avoid Shock:
Sudden temperature changes can cause metal or plastic pipes to fracture even further. Instead of cranking up the heat gun to its highest level, begin with a lower setting. Move the heat source along the length of the pipe in a steady, sweeping motion. Patience is key: a slow thaw is far less risky and helps preserve the integrity of the pipe.
Why This Matters
- Prevent Further Damage: A pipe that’s frozen is already under stress. Thawing it too rapidly can lead to bursts, cracks, or pinhole leaks. A slow, methodical approach gives you better control and minimizes the risk of extensive damage.
- Safety Concerns: Using open flames around flammable materials or leaving an electric heater unattended can quickly escalate into a fire emergency. By sticking to recommended heat methods, you ensure that your thawing process won’t backfire—literally.
- Long-Term Cost Savings: Addressing a frozen pipe before it bursts can save you from expensive remediation efforts, such as replacing soaked drywall, repairing damaged flooring, or remediating mold and mildew issues that often follow water leaks.
Local Example
Even though Florida winters are generally mild, unexpected cold snaps occasionally cause a wave of plumbing emergencies. We’ve witnessed a spike in service calls during these short but intense temperature drops, particularly in older neighborhoods where insulation may be inadequate or inconsistent. Many of these incidents could have been minimized with proactive insulation and careful thawing techniques.
Best Practices for Prevention
- Insulate Pipes in Vulnerable Areas: If a freeze is in the forecast, wrap exposed pipes in insulation sleeves, heat tape, or even towels to reduce the risk of ice forming.
- Keep Garage Doors Closed: If your garage houses supply lines, keeping the door closed can help retain heat and protect pipes from cold air.
- Drip Faucets in Extremely Cold Weather: Allowing a slight drip can maintain some water movement, which reduces the likelihood of freezing.
- Monitor Temperatures: When forecasts predict an uncharacteristically cold night, do a quick walkthrough of your home to ensure you’ve taken basic precautions like insulating outdoor spigots and exposing warm air to under-sink pipes by opening cabinet doors.
Actionable Insight
If you notice a pipe beginning to freeze—or already frozen—don’t panic. Turn off the water supply, apply gentle heat, and proceed slowly. Above all, never leave a heat source unattended, and never use open flames in an attempt to speed up the thawing process. If the pipe shows signs of extensive damage or continues leaking after thawing, contact a professional plumber as soon as possible to prevent further complications.
By staying prepared and following these safe thawing strategies, you can tackle Florida’s occasional freezes without letting a sudden cold snap catch you—or your plumbing—off guard.
6. Turn Off Your Water Heater or Boiler
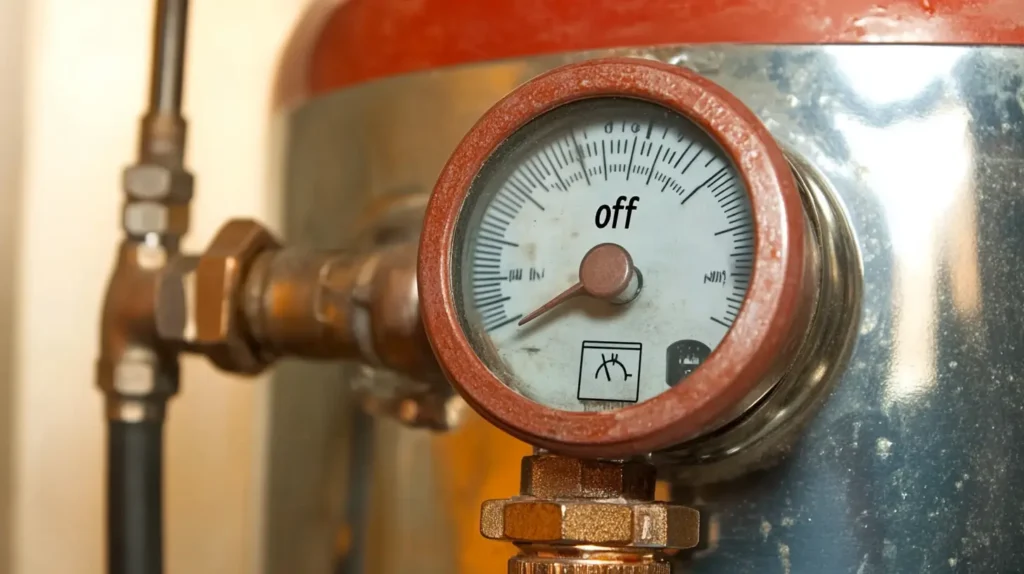
When a pipe bursts, turning off the main water supply is typically everyone’s first priority—which is absolutely correct. However, an equally vital but often overlooked step is to shut down your water heater or boiler. Once you’ve stopped the incoming flow of water, your water heater continues to operate without fresh water circulating through the system. Over time, this can cause the tank to overheat or build up excessive steam pressure, leading to anything from internal damage to a full-scale flood if a valve ruptures under stress.
Understanding the Problem
Many homeowners assume that once the water is off, they have nothing more to worry about until help arrives. Yet water heaters, whether electric, gas, or boiler-based, are designed to maintain a constant temperature in the reservoir. With no new water entering, the heater is essentially running dry, trying to heat air or minimal residual water. This can strain the unit significantly. An overheating tank is not just an expensive piece of equipment in jeopardy—it’s a potential safety hazard. Pressure can accumulate at an alarming rate, especially if safety mechanisms fail or have not been properly maintained.
Why This Matters
- Avoid Overheating: A heater running without sufficient water may continue generating heat, risking damage to internal components or complete system failure. Over time, essential parts like the heating element can burn out, or the tank itself can become compromised.
- Prevent Pressure Build-Up: When water is cut off but the heater remains active, excess steam and pressure can accumulate. If pressure release valves malfunction, you could be dealing with anything from minor leaks to major property damage, even injuries, if the tank or pipes give way.
- Long-Term Cost Savings: Repairs for a damaged or cracked tank can be substantial, and replacing an entire water heater is even more expensive. Shutting it down during a plumbing emergency spares you the double headache of both fixing burst pipes and replacing a ruined heater.
Real-World Example
A Jacksonville business owner found this out the hard way. After a pipe burst, he shut off the main valve but forgot to turn off his gas water heater. The tank continued to heat, building up steam pressure until a relief valve ruptured. The ensuing flood was far worse than the original burst pipe, soaking several rooms and causing damage to walls, flooring, and electrical wiring.
Subtle Humor
Think of your water heater as that overly enthusiastic friend at a potluck who just keeps on cooking long after the guests have stopped eating. Eventually, they’re going to burn something—or in this case, risk damaging your home. Sometimes, you just have to remind them that the party’s over.
Actionable Insight
- Locate the Shutoff Mechanism in Advance: For electric units, find the correct breaker switch in your electrical panel. Label it clearly so you can turn it off in seconds. For gas heaters, learn how to safely turn the gas valve to the “off” position.
- Test the Pressure Relief Valve Annually: A simple test ensures that the valve isn’t stuck or corroded. This step can prevent pressure build-up during a plumbing crisis.
- Stay Calm, Stay Safe: Once you’ve cut off the water supply, don’t forget to power down your water heater or boiler. This small step can spare you from a much bigger problem in the long run.
By prioritizing your water heater or boiler shutoff whenever you experience a burst pipe, you significantly reduce the risk of extensive damage and add an extra layer of safety to your home. After all, dealing with one crisis at a time is enough—no one wants a second emergency triggered by an overheating, pressurized tank.
7. Document the Damage
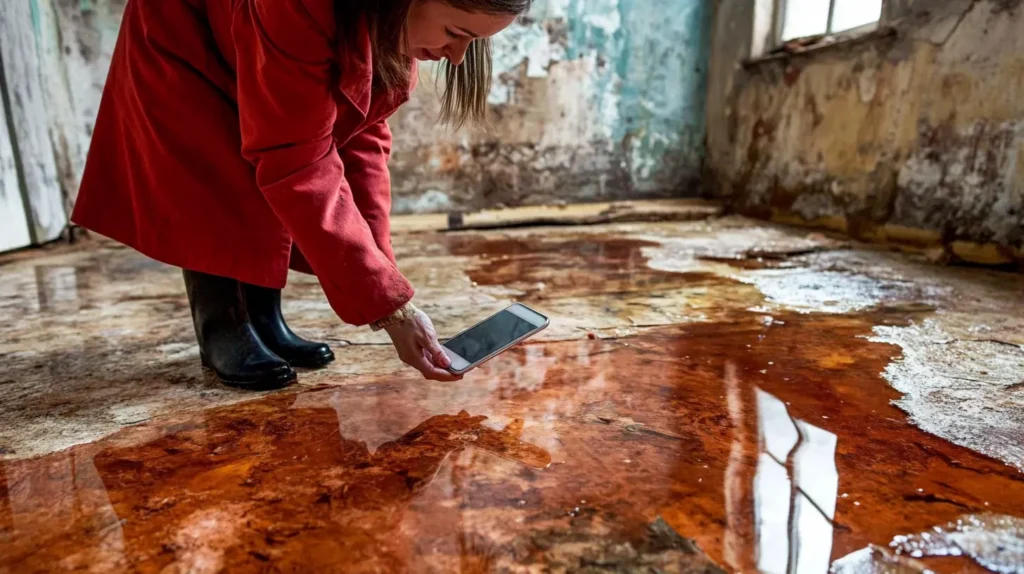
When water starts pouring onto your floors, taking time to snap pictures or record videos might not top your to-do list. However, once you’ve handled the immediate crisis—such as turning off the main water supply and stopping further flooding—documenting the damage becomes a critical step in protecting yourself financially and ensuring your home or business can be restored properly. Whether you’re dealing with a minor leak or a full-scale plumbing catastrophe, having clear, comprehensive proof of the water damage will make all the difference when it comes to filing insurance claims or comparing repair estimates later.
Why Documentation Is So Crucial
- Insurance Claims: If your home or business insurance policy covers water damage, clear visual evidence can significantly streamline the claims process. Adjusters want to see the extent of the damage—how high the water rose, what areas were affected, and which items need repair or replacement. High-resolution photos and videos help paint an accurate picture, often expediting the settlement.
- Repair Estimates: Documenting the initial damage also helps you obtain accurate quotes from plumbers, contractors, or restoration specialists. By showing them photos or videos, you won’t have to rely solely on your memory of the incident—especially if some time passes before they can visit your property. This detailed record enables professionals to provide a more precise assessment of necessary repairs or replacements.
How to Document Effectively
- Use Multiple Angles: Take photos or videos from various vantage points. Capture close-ups of damaged fixtures, pipes, or appliances as well as wide shots that show the broader impact on floors, walls, and furnishings.
- Highlight Hidden Damage: Don’t forget to check behind furniture or in corners you don’t normally inspect. Water often seeps into baseboards, under carpets, or even inside cabinets and wall cavities.
- Record Timely Evidence: If you notice that the water level is rising quickly, snap or record a few shots in real time. Later, continue taking pictures as the water recedes or as you start any preliminary cleanup.
- Create a System: Set up a dedicated folder on your smartphone or computer for all home emergency photos. Label them with the date and short notes (e.g., “Pipe Burst in Kitchen, April 2025”), so you can easily locate and share them when needed.
Local Insight
If you’re in a coastal region like Ponte Vedra or near the water in St. Augustine, insurance coverage for water damage can be more nuanced. Some policies may include special clauses regarding flooding or storm surges, while others might exclude these events altogether. Additionally, if your insurer suspects the damage is related to saltwater intrusion or storm-driven flooding, they may require more thorough evidence before approving a claim. By diligently documenting the damage, you give yourself the best chance to prove that a busted pipe—rather than external flooding—caused the problem, ensuring you maximize your policy’s benefits.
Best Practices for Stress-Free Documentation
- Stay Organized from the Start: Once a leak or burst pipe is contained, take a moment to collect your thoughts and prepare to document methodically. A calm, step-by-step approach yields clearer photos and more useful videos.
- Capture the Repair Process: If you’re applying a temporary fix or partial repair, document that, too. Showing how you mitigated further damage can be helpful for both insurers and professionals.
- Keep Receipts and Notes: Any supplies you buy for temporary repairs, cleanup, or inspection should be saved. Keep digital copies of all receipts, along with any notes about conversations with your insurance agent or repair services.
- Back Up Your Media Files: If your phone gets damaged, you don’t want to lose crucial evidence. Use cloud storage or email copies of your photos and videos to yourself, ensuring you have backups in case of an unexpected tech failure.
Actionable Insight
Commit to creating a simple “Home Emergencies” folder or album on your phone. When you notice a leak, burst pipe, or any other significant home damage, add pictures and videos to that dedicated folder right away. This single step spares you from searching through thousands of photos when you urgently need to share them with an insurance adjuster or a local plumber.
By making documentation a top priority as soon as you’ve controlled the flow of water, you’ll be better prepared to handle insurance negotiations, coordinate repairs, and get your home or business back to normal as quickly as possible. Instead of relying on memory or secondhand descriptions, you’ll have indisputable visual proof of the plumbing incident—an invaluable resource that might save you time, money, and stress in the long run.
8. Inspect Other Plumbing Connections
After addressing the most pressing concern of a burst or damaged pipe—whether that involved turning off the main water supply, draining the lines, or patching a leak—it’s easy to forget that other parts of your plumbing system could be under strain as well. Much like a row of dominoes, a significant disruption in one area can create a ripple effect, placing extra pressure on valves, hoses, and fittings you haven’t even thought to check. By taking a few extra minutes to inspect these often-overlooked connections, you can avoid getting blindsided by secondary leaks or surprise malfunctions down the line.
Understanding the Importance of a Comprehensive Inspection
When a major pipe failure occurs, your plumbing system experiences a sudden change in pressure. This fluctuation can loosen connections, aggravate small cracks, or exacerbate existing corrosion in other pipes. You may have repaired the initial break, but tiny leaks in appliances like your dishwasher, washing machine, or even your outdoor spigots can remain undetected until they develop into bigger problems—sometimes weeks or months later.
Comprehensive Damage Control: By proactively looking for leaks or worn-out fittings, you can spot early warning signs before they escalate. Small drips under a sink or around the base of a toilet might not seem like a big deal, but over time, even minor water exposure can lead to mold growth or structural damage.
System Maintenance: Regularly checking your plumbing connections keeps your entire system in better shape. If you notice corrosion or rust on a valve, this is a signal that a bigger failure may be imminent unless you take steps to replace or repair the component. Frequent inspections also help you stay on top of any routine maintenance that may be needed.
Step-by-Step Inspection Guide
- Check Under Sinks and Cabinets: Examine the space beneath kitchen and bathroom sinks for any visible leaks, puddles, or discoloration. Feel around pipes for moisture, and pay attention to any musty odors that might indicate hidden dampness.
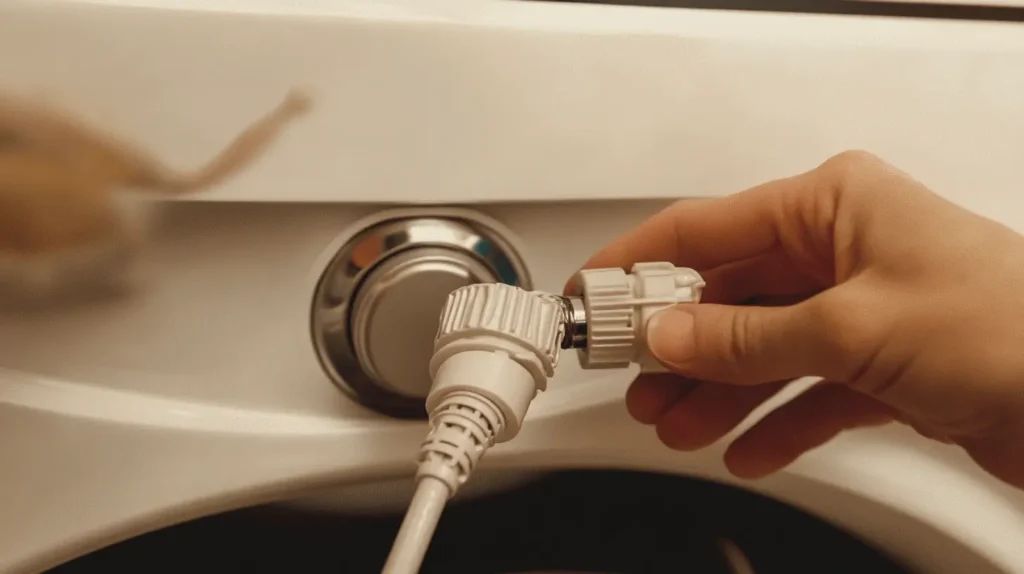
- Inspect Appliance Hoses and Fittings: Look behind your washing machine and dishwasher to ensure hoses are intact and connections are secure. If a hose shows signs of bulging, cracking, or rust, it’s best to replace it before it fails.
- Examine Outdoor Spigots: Turn on each exterior faucet and look for dripping near the handle or where the pipe meets the side of your home. A small leak here can quickly escalate into a bigger issue if left unattended—especially during a dry season when you might not use outdoor faucets as often.
- Listen for Odd Sounds: If you hear a whistling or humming noise when you run a faucet, you may have a pressure issue or a partially closed valve. Such noises can be an early sign that something else in your system isn’t working correctly.
- Use a Checklist: It’s easy to forget a corner of your home. Make a quick list of all the plumbing connections—under each sink, behind each appliance, and any outdoor faucets—and tick them off as you go. This way, you won’t accidentally skip an area.
Real-World Example
In one St. John’s County home, a burst pipe led the homeowner to shut off the water supply and fix the immediate leak. Later, while performing a thorough inspection, we discovered that increased pressure had loosened the dishwasher drain hose, causing a slow drip. Left unnoticed, this minor leak could have turned into another messy situation. Fortunately, the homeowners caught it in time, sparing themselves another flood and additional repair costs.
Subtle Humor
Your plumbing system is a lot like those dominoes you had fun setting up as a kid: push one, and you never know how many others will go tumbling unless you keep an eye on them and brace them for stability.
Actionable Insight
Always do a quick sweep of your home’s plumbing after a major incident. Keep a handy checklist to ensure you inspect all the usual suspects—sinks, dishwashers, washing machines, toilets, and outdoor faucets—so no hidden issue goes unresolved. With just a few extra minutes of diligence, you can safeguard your home against secondary leaks and keep your plumbing system flowing smoothly.
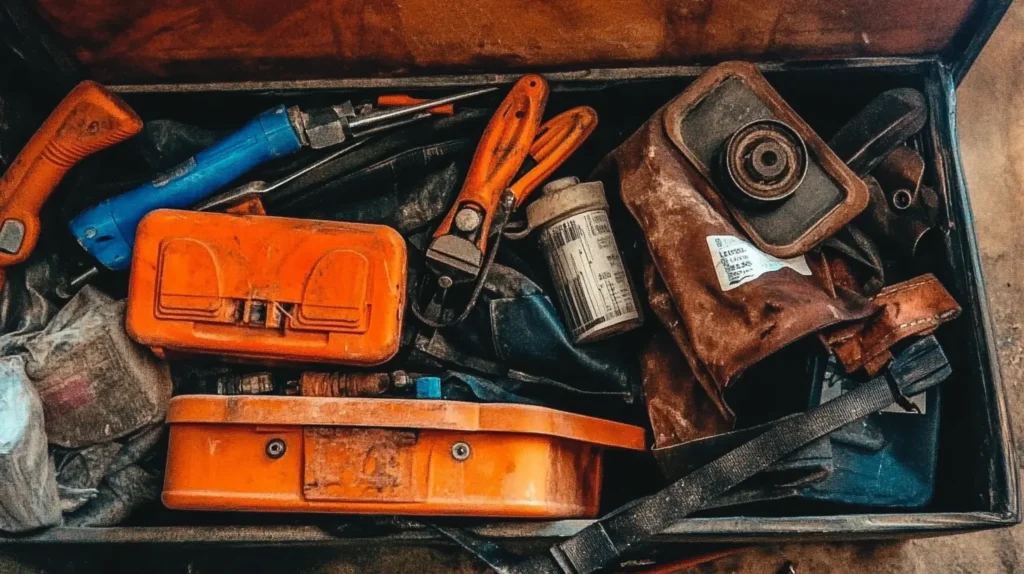
9. Keep an Emergency Plumbing Kit Ready
When a pipe suddenly bursts in your home, every second counts. The difference between a minor leak and a major disaster often lies in your ability to respond quickly—and that’s where an emergency plumbing kit comes in. Even if you don’t consider yourself handy with tools, having a few basic repair items on standby can mean the difference between containing a crisis and watching water damage spread across your floors, walls, or even into electrical systems. By assembling a dedicated kit ahead of time, you’ll be prepared to handle unforeseen leaks or burst pipes, all while saving money on costly repairs down the road.
Why You Need a Plumbing Kit
- Immediate Response:
During a plumbing emergency, you don’t have the luxury of rummaging through your garage or storage closets trying to remember where you last saw that roll of pipe tape. A properly stocked kit, stored in an accessible place, ensures you can reach for the right tool the moment you notice a leak. Quick action can drastically reduce water damage, especially in situations where a plumber might not be able to arrive right away—think late nights, busy holiday weekends, or severe weather events. - Cost Efficiency:
Even a small leak can escalate into a major problem if left unchecked. By applying a temporary fix—using items like pipe repair tape, epoxy, or a pipe clamp—you can stave off significant damage until you’re able to secure professional assistance. This often prevents extensive structural or cosmetic issues, saving you money on future repairs and avoiding complications like mold, warped wood, or electrical hazards.
What to Include in Your Emergency Plumbing Kit
- Pipe Repair Tape and Epoxy: These items are indispensable for sealing small cracks, pinhole leaks, or minor drips. Pipe repair tape is designed to cling to itself, forming a tight seal around the leak, while epoxy putty can be molded to match the shape of the damaged area.
- Pipe Clamps: If you experience recurring pipe issues or suspect a more significant fracture, a pipe clamp can offer a stronger temporary fix. It applies uniform pressure around the circumference of the pipe, significantly reducing or stopping the flow of water.
- Adjustable Wrench and Screwdriver Set: Leaks aren’t always due to cracked pipes; sometimes, fittings come loose or washers wear out. Having a basic wrench and screwdriver set allows you to tighten or adjust connections on the fly.
- Flashlight or Headlamp: Plumbing emergencies rarely happen in well-lit, convenient locations. Having a powerful flashlight or a headlamp frees up your hands for repairs while also ensuring you can spot hidden leaks in dimly lit areas.
- Buckets and Towels: Before you can even start repairing a leak, you may need to catch or absorb running water. Buckets can help contain the flow, while towels keep your floors and nearby surfaces as dry as possible, minimizing damage.
Local Tip
From Jacksonville to St. Augustine, we’ve seen many homeowners store random tools and partial rolls of tape all over the garage, utility room, or even in the trunk of the car. Gathering these items into one clearly labeled “Emergency Plumbing Kit” can save you from frantic searches when you’re already under pressure. In regions prone to sudden weather changes or with older piping systems, an organized kit is especially valuable.
Best Practices for Kit Storage
- Choose a Clearly Marked Container: Opt for a waterproof bin, a toolbox, or a large bag. Label it “Emergency Plumbing Kit” so that everyone in your household knows exactly where to find it.
- Easy Accessibility: Keep it in a location you can access quickly, such as under the kitchen sink or inside a utility closet. Avoid high shelves or locked storage areas that would delay your response.
- Educate Household Members: Make sure teens, roommates, or other family members know what the kit contains and how to use it. A quick walk-through can empower them to act if a leak happens while you’re away.
Actionable Insight
Proactively assembling a well-rounded emergency plumbing kit can save you a world of trouble when an unexpected leak or busted pipe occurs. Although these temporary measures won’t replace professional repairs, they can hold back the tide—literally—until a skilled plumber arrives. By planning ahead, you’ll be better equipped to protect your property, reduce damage, and maintain your peace of mind during high-stress situations.
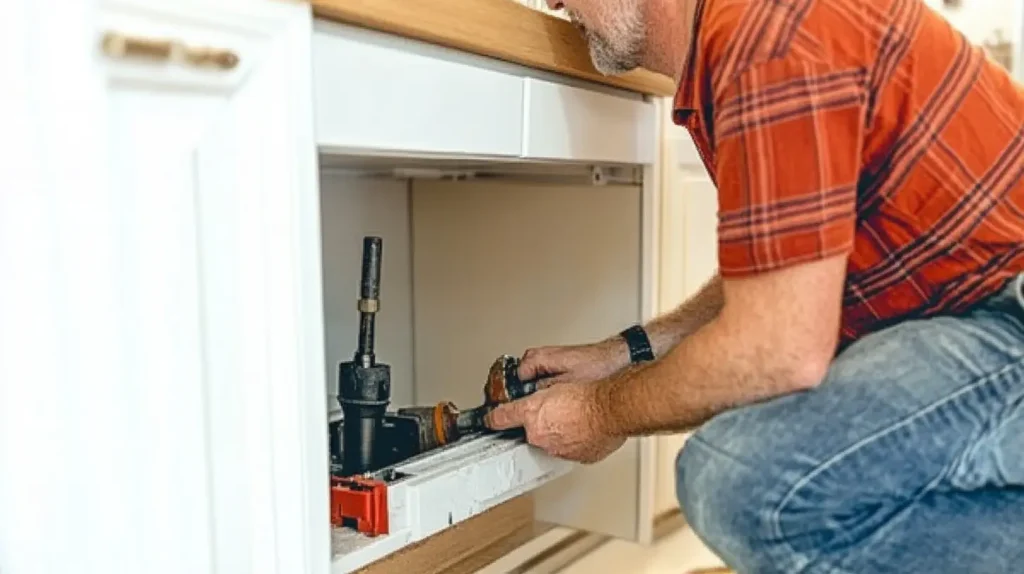
10. Contact a Professional Plumber
Even the best “calgary plumbing emergency quick tips” and “plumbing emergency tips” have their limits. While a well-placed clamp or a quick wrap of pipe repair tape might buy you some time, there’s no substitute for a thorough, lasting repair. When you’re facing a seriously broken or busted pipe, a certified professional is your greatest asset. After all, the underlying problem could be more extensive than it appears—perhaps a corroded section of pipe running beneath your flooring, or a pressure issue affecting your entire plumbing system. A qualified plumber doesn’t just fix the immediate leak; they also evaluate the overall health of your pipes, identify potential weak points, and recommend cost-effective solutions that stand the test of time.
The Problem
A burst pipe can quickly escalate from a minor inconvenience to a catastrophic event that threatens floors, walls, appliances, and even electrical wiring. You can do your best to mop up and apply temporary fixes, but if you don’t address the root cause—be it corrosion, high water pressure, or faulty installation—there’s a risk of recurrence. A botched repair job can lead to repeated leaks, ongoing water damage, or the need for more expensive interventions in the future.
Why a Professional Is Essential
- Quality Assurance: Plumbers bring specialized tools, in-depth knowledge, and hands-on experience to the table. Rather than relying on quick patches that may fail under normal water pressure, they provide permanent repairs. This drastically reduces your chances of dealing with another emergency a few weeks or months down the line.
- Peace of Mind: A crisis involving water can be highly stressful—especially if you’re juggling work, family commitments, or business operations. Handing off the task to a reputable plumber allows you to focus on other responsibilities, secure in the knowledge that your home or business is in capable hands.
- Long-Term Savings: While the upfront cost of a professional visit might give you pause, consider the alternatives. Multiple rounds of do-it-yourself fixes add up, particularly if a neglected issue develops into a major structural or mold-related problem. A licensed plumber can often isolate and correct the source of the issue, helping you avoid larger expenses down the road.
Our Approach at Kingdom Based Plumbing
At Kingdom Based Plumbing, we understand that a broken pipe isn’t just about water damage; it’s about the stress and disruption to your everyday life. Serving St. John’s County, Jacksonville, St. Augustine, and neighboring areas, our family-run business takes pride in delivering prompt, community-focused service. When we arrive on-site, our goal is to perform a comprehensive evaluation of your plumbing, not just fix the obvious leak. This thorough approach helps you dodge hidden trouble spots that might otherwise stay under the radar until another unexpected emergency arises.
Persuasive Element
If you’re currently facing a busted pipe in Northeast Florida, remember that professional intervention can save you money—and your sanity—in the long run. You can spend hours attempting quick fixes, but if the main cause isn’t addressed, you’re setting yourself up for repeated episodes of water damage. By reaching out to us, you’ll get transparent pricing, friendly service, and an experienced plumber ready to resolve your issue and restore normalcy to your home or business. We understand the pressure of dealing with a plumbing emergency, and our mission is to make the repair process as painless as possible.
Best Practices and Next Steps
- Act Swiftly: If you suspect a significant problem, don’t wait for multiple leaks to occur. Contact a plumbing professional at the earliest sign of trouble.
- Ask Questions: A good plumber will walk you through the repair, explaining the cause of the break and the recommended fix.
- Plan for Maintenance: Consider scheduling periodic check-ups, especially if your home has older pipes or if you’ve noticed fluctuating water pressure.
By combining your own immediate steps—like shutting off water, draining pipes, and documenting damage—with professional expertise, you set the stage for a proper resolution. Rather than merely treating the symptom, you’ll address the underlying cause, ensuring that a broken pipe won’t wreak havoc on your property again anytime soon.
Additional Considerations: Dealing with Insurance and Cleanup
Even after you’ve shut off the water and implemented temporary fixes, you might have to navigate insurance claims and restoration. If your home has suffered significant flooding, contact your insurance agent promptly. They can guide you through the claims process and connect you with water mitigation specialists if needed.
Conclusion
Experiencing a broken or busted pipe is stressful, especially when it happens at the worst possible moment—like on a Sunday night before a busy workweek or in the middle of a festive family gathering. However, a measured response can drastically reduce the amount of water damage and the level of chaos you’ll face. By following these 10 emergency plumbing tips, from shutting off your main water supply to calling a professional plumber, you set yourself up for a quicker and smoother resolution.
Remember, preparedness is key. Make sure everyone in your household or business knows where the main shutoff valve is. Keep an emergency plumbing kit stocked with essentials like pipe repair tape and clamps. Take the extra time to regularly inspect your plumbing system, especially after a big scare like a burst pipe. And, of course, don’t forget to snap photos for insurance purposes.
At the end of the day, plumbing emergencies are never fun, but they’re not insurmountable, either. With the right mix of do-it-yourself troubleshooting and timely professional intervention, you can turn a potential disaster into a mere inconvenience. Should you need any assistance, Kingdom Based Plumbing is here for you—24/7 if necessary—because we know that plumbing emergencies have no respect for business hours.


